How to make an origami butterfly
Bored in quarantine and in search of a fun, simple activity to do? Well, you’re in luck! Here is a step-by-step guide to making your own origami butterfly, with pictures for each part. Enjoy and happy folding!
Step One:
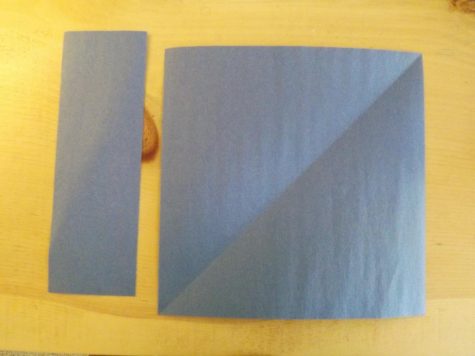
Find a square piece of paper. If you don’t have one you can take any other kind of paper like wrappers, receipts, or news papers.
-Take one of those and take a corner and line it up with the side like this.
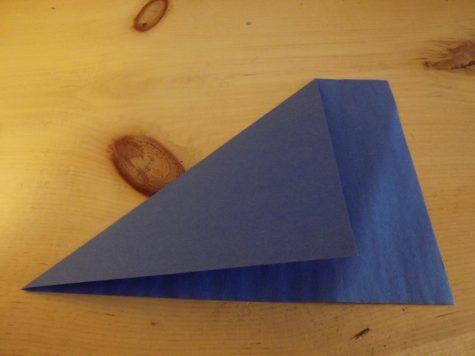
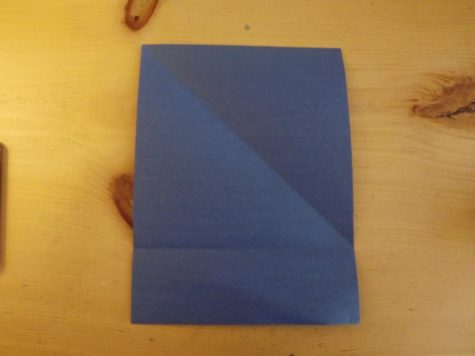 -Then cut where the folded page ends to create a square.
Step Two:
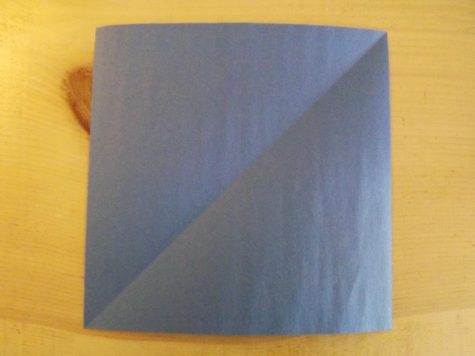
Once you have a square, fold it across from corner to corner. Unfold it then repeat with the other side.
Step Three:
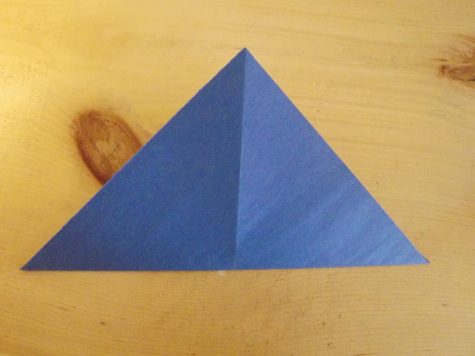
-Unfold the paper and return it to the square again.
-Then fold it hot dog style (like you’re back in elementary school).
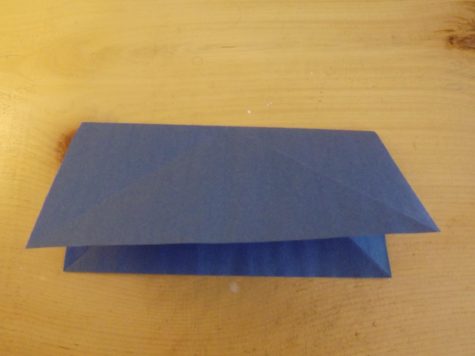
-Unfold and repeat with the other side. 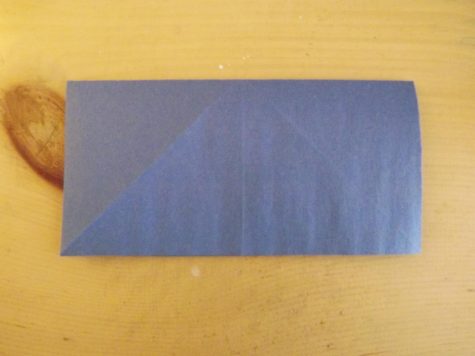
Step Four:
4 a. Note the symmetry of the folds on your square, almost like a snowflake. This next part is a bit tricky.
-The first thing you want to do is look for the crease on the right hand side of the square, which is horizontal. This crease could also be three on a clock, if you’d like to look at it that way.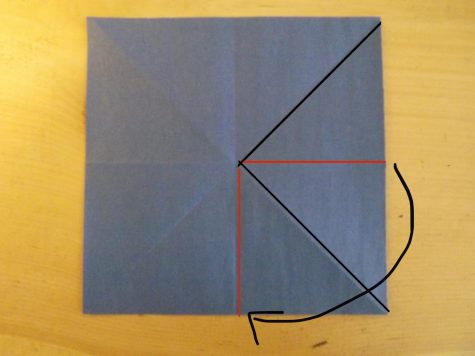
-Locate this crease and bring it to the six o’clock crease on the bottom part of your square, which is vertical. A
-Align the first crease (3 o’clock) with the second crease (6 o’clock) and fold it.
4b. Now, do the same process, but on the left side.
-This means you will fold the nine o’clock crease on the six o’clock crease.
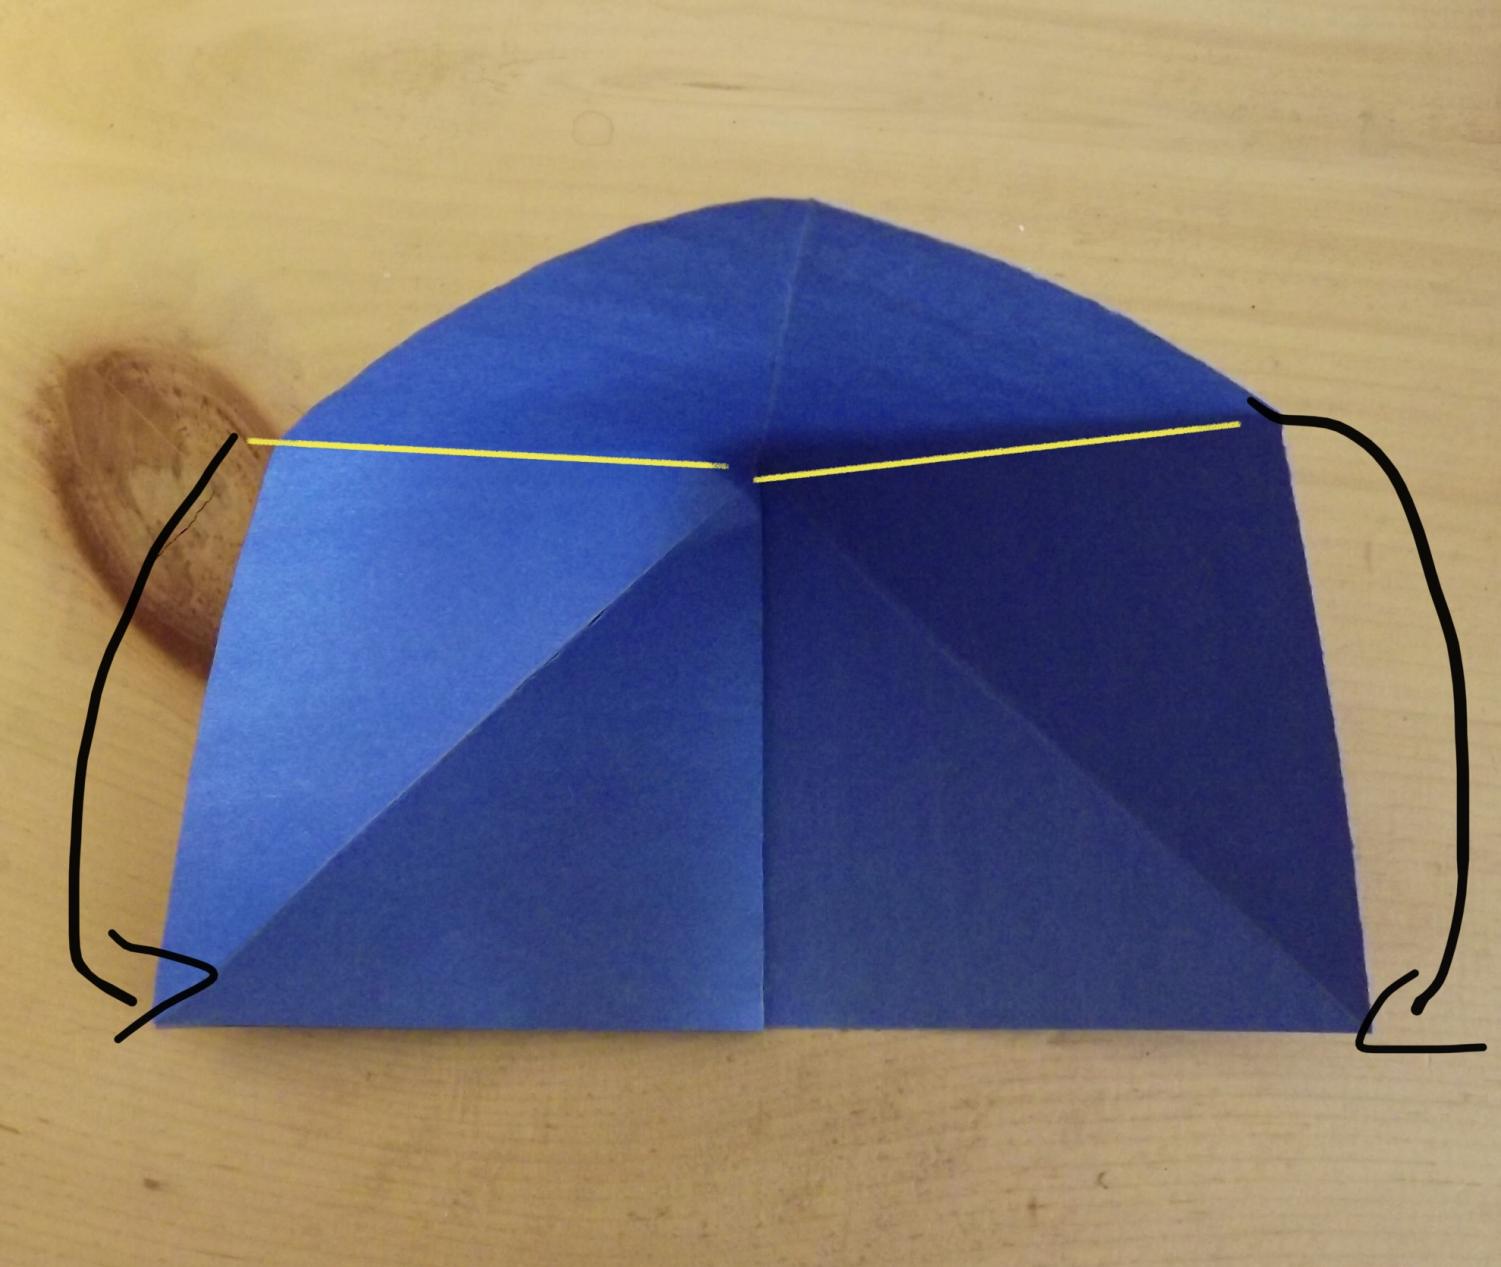
4 c. This should create a triangle, with leftover paper on the top.
-That should easily fold down and create a triangle.
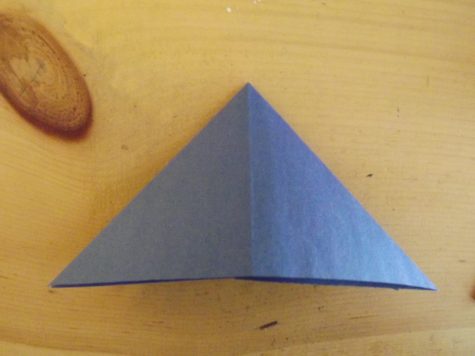
-It should look like a triangle with two layers.
Step Five:
Fold one of the flaps toward the point of the triangle. Then repeat with the other one.
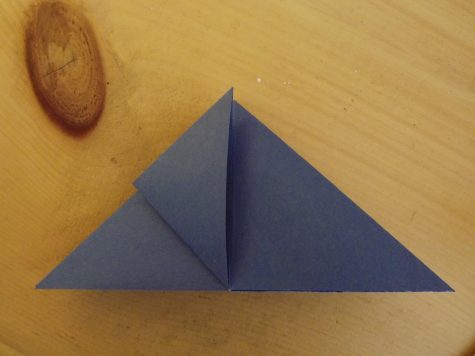
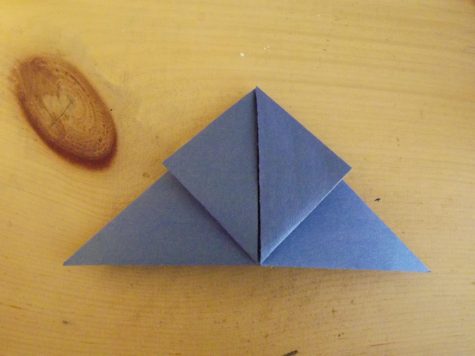
Step Six:
Flip over to the other side and have the top point of the triangle facing down.
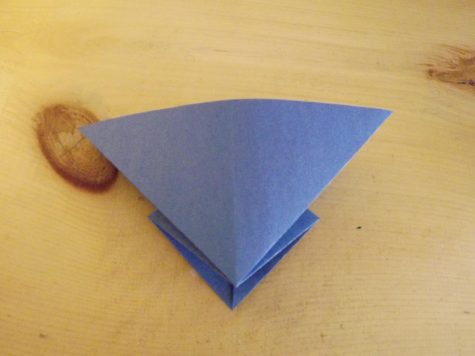
Step Seven:
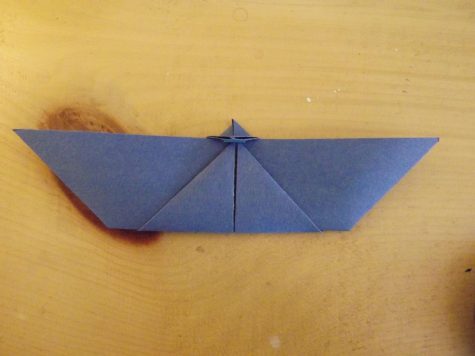
Fold the top point of the triangle with flaps slightly past the bottom of the triangle. It should kinda look like a boat.
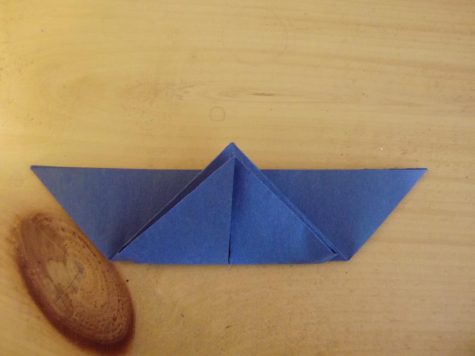
Step Eight:
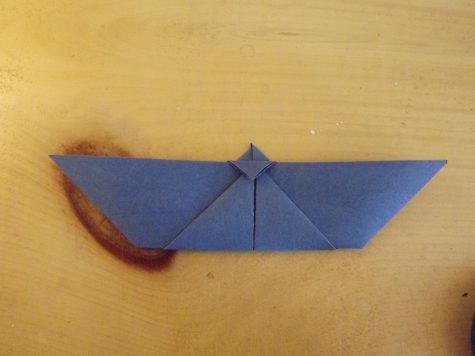
Now flip over the butterfly and fold over the little mountain that is slightly over the horizon. But do not fold over the separate flaps just the one.
Step Nine:
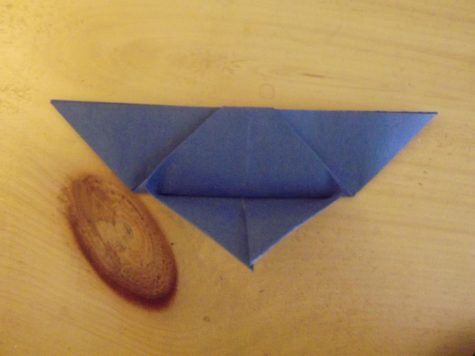
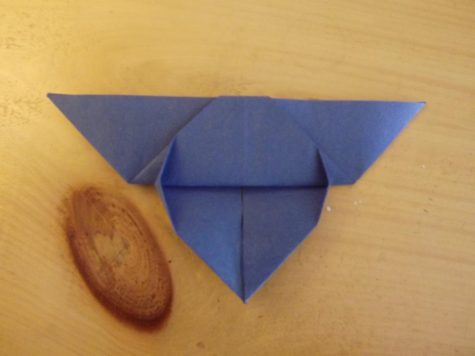
-Now fold down the two flaps which are going to be the bottom wings.
-When you try to fold the flaps down, there will be a little resistance because it’s not a clean fold.
-I suggest making a little crease on each side where there is resistance to make the little triangles flat.
Step Ten:
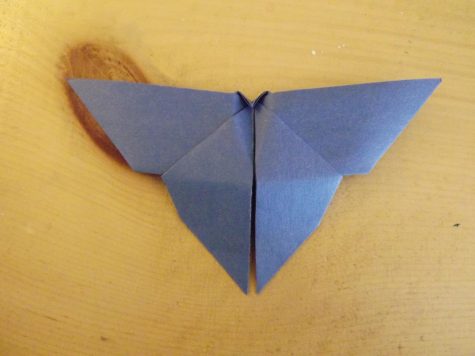
Now flip it over again and it should look a lot like a butterfly. Now all you need to do is fold it down the center holding the body between your thumb and forefinger, and fold the wings open against your fingers.
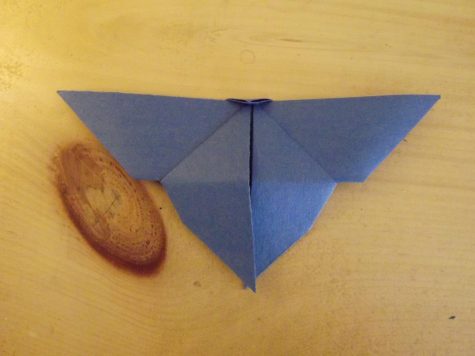
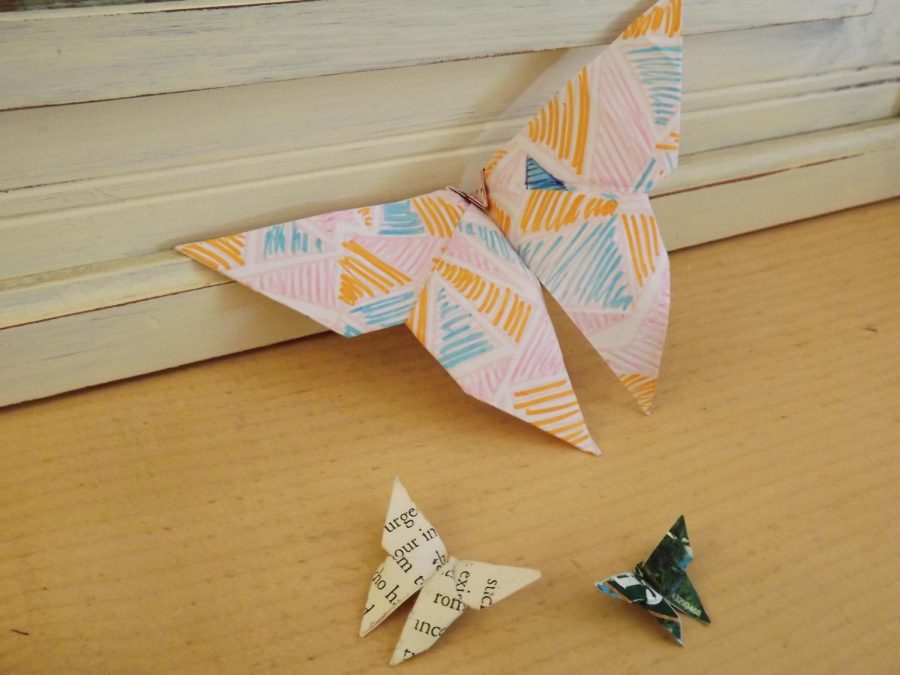
Now you have a butterfly! You could make a lot and then string them with fishing wire and hang them from your ceiling. Or if you are a guy, it would be cute to make this for your girlfriend and give it to her.
